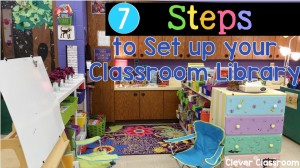
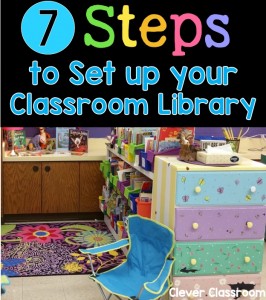
Photo by Kelli Walker Olson
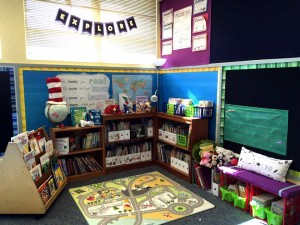
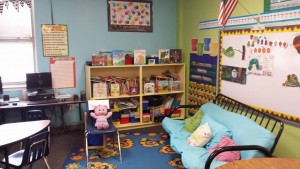
There’s a lot to think about! I mean it has to be inviting and aesthetically pleasing. Do you go with a theme, a color or just what goes? Then it has to be functional, systematic, and well just super organized. How do you source the books? What furnishing do you put in the space? Do you set it up in a corner, on the side of the room. How big can you have it?
With the help of our fabulous Facebook fans, I have organized the set up of your classroom library into seven systematic and easy to follow steps.
Step 1: Library Location
Decide on where your library will fit in your room.
Step 2: Furnishings, seating and other ‘stuff”.
What furnishings do you already have and what do you need? Will you provide seating or will children sit on the floor? What other things could you add?
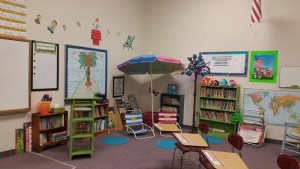
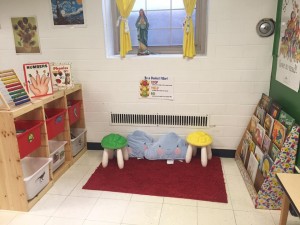
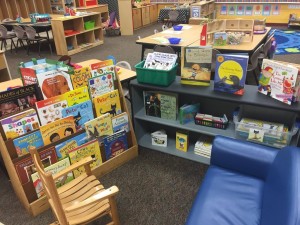
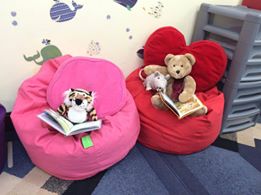
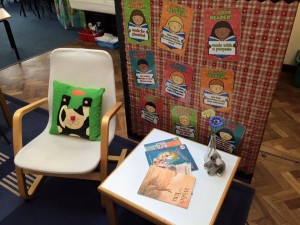
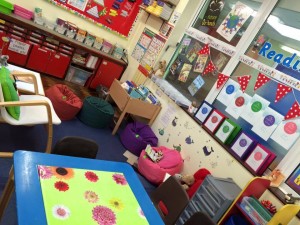
Add pillows, bath mats, mats or rugs, stools (IKEA ones are perfect), small tables, beanbags, carpet, crates with pillows, old buckets with round pillows, a lamp, material to drape, shelf to highlight books, space for a CD player or docking system, teddy bears, dolls and puppets and a mirror to read to.
I have seen teachers use a few fluffy bath mats in their classroom library. You know the ones with grip that stay in place.
Step 3: Library Functions.
What will the library be used for and how will this impact where you place your furnishings, shelves, books and other stuff?
Will you use your library for Daily 5, reading groups, listening centers, buddy reading, interventions, small group work, pair reading or something else?
Step 4: Sourcing Books.
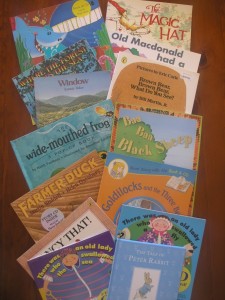
What books do you already have? Can your school provide books or do you have to purchase them?
Step Five: Class theme.
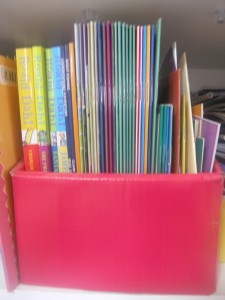
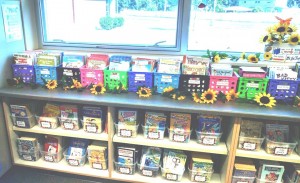
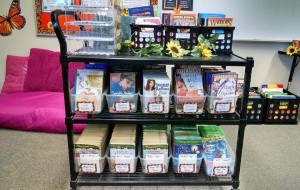
Do you have a classroom theme that can carry over to your library? Do you need to color-code book boxes?
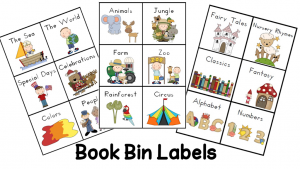
Step 6: Organizing and categorizing.
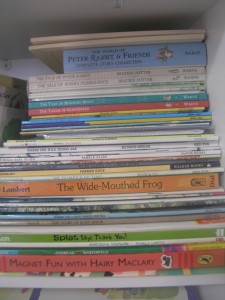
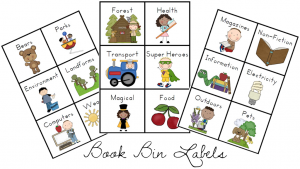
How are you going to organize your books?
Click here to see the book bin labels.
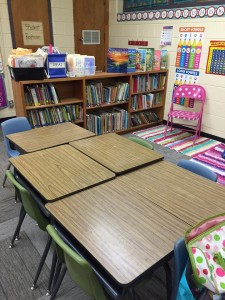
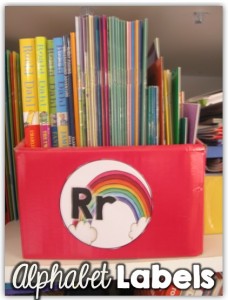
You could categorize books them by level, numerically or alphabetical.
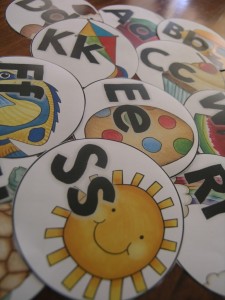
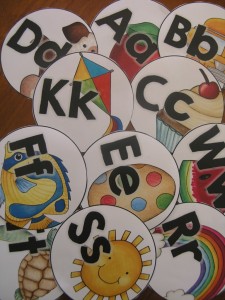
These round alphabet labels will do the job.
I have used the alphabet labels for our word wall too.
Step 7: Step up expectations.
Model, discuss, praise, revisit what reading in the classroom looks like, sounds likes, feel like. Take photos of students reading.
Revisit how to treat books and brainstorm do’s and don”ts.
Discuss model, praise and revisit how to find and then put books back in their correct place.
Tip: You could place round color dots on the books and have them correspond with the book bin label by placing the same color dot on it.
I hope these steps and tips help you get your library up and going.
Thanks for dropping by.
If you would like to receive more tips, ideas plus freebies, you can sign up to our email notifications.



Leave a Reply
You must be logged in to post a comment.